Your cart is currently empty!
Precision Adjust Elite – A Closer look at Edge Results
What is the difference between the edge created on the Original Precision Adjust, and the edge you can create with the Precision Adjust Elite? Let’s take a closer look using a digital microscope.
First off, what are we working with?
- 2 Kershaw Leek’s. These were two brand new knives that we sharpened on each system. They are a relatively soft steel, so they sharpen easily.
- For the sharpening method, we use the “push” technique, where you only push the stone into the knife moving along the edge slightly, this would ensure an even scratch pattern and replicate a factory edge.
- Lastly, we tried to spend the same amount of time on each grit in the progression to be as consistent as possible between each stage.
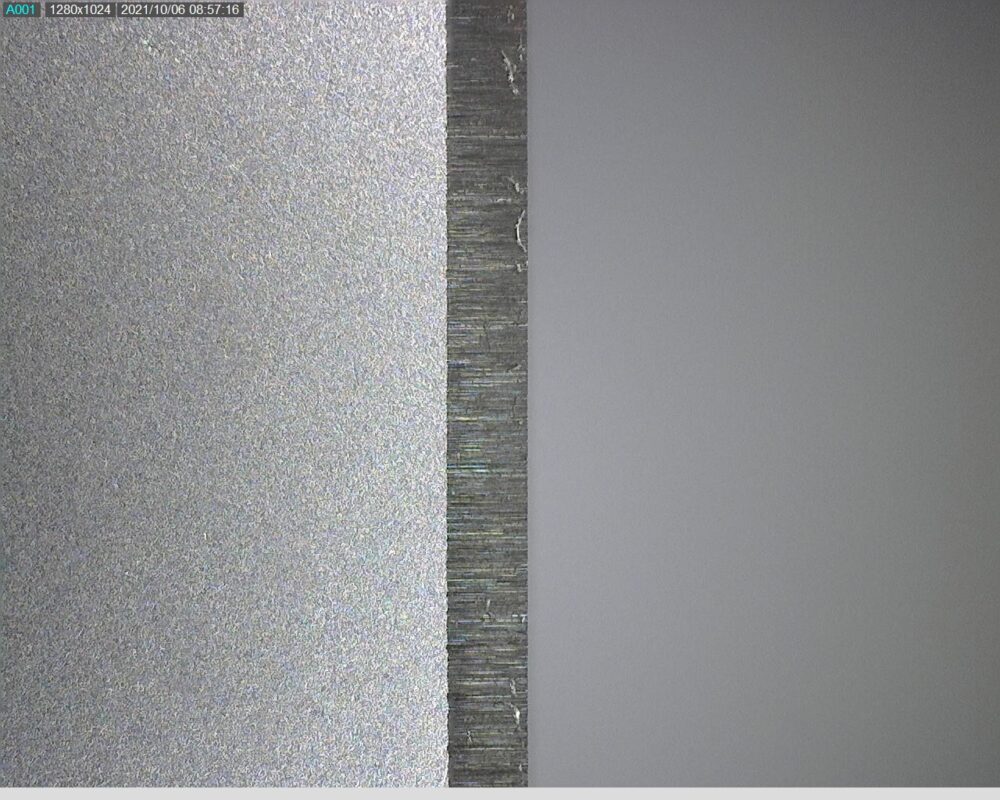
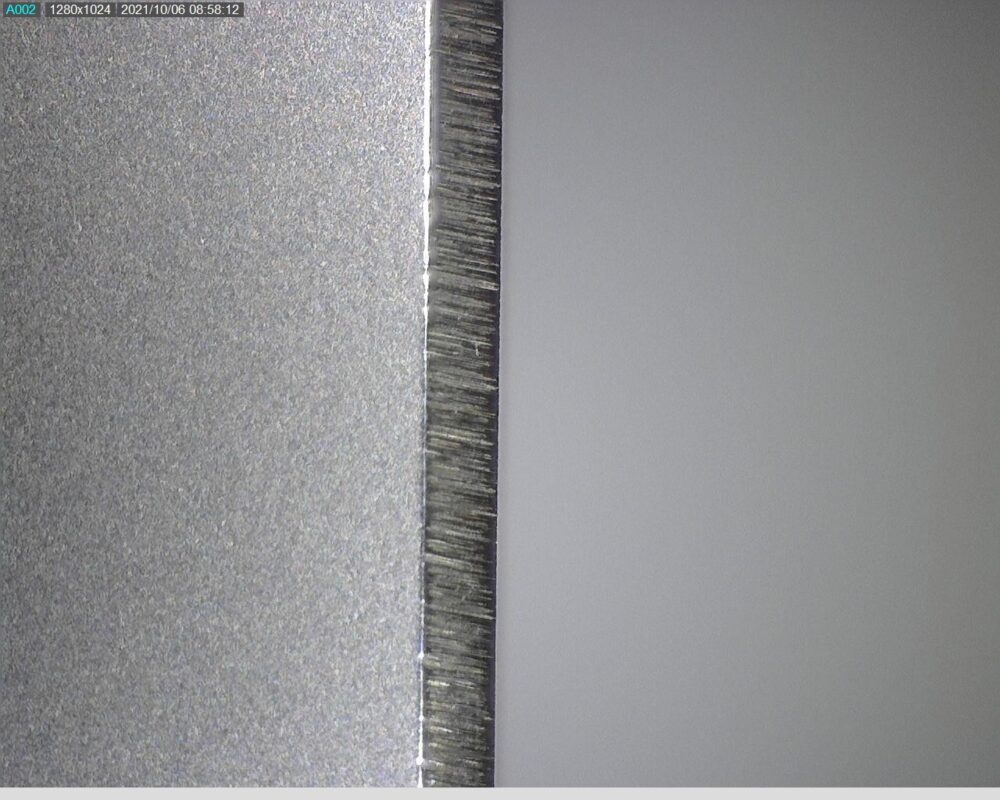
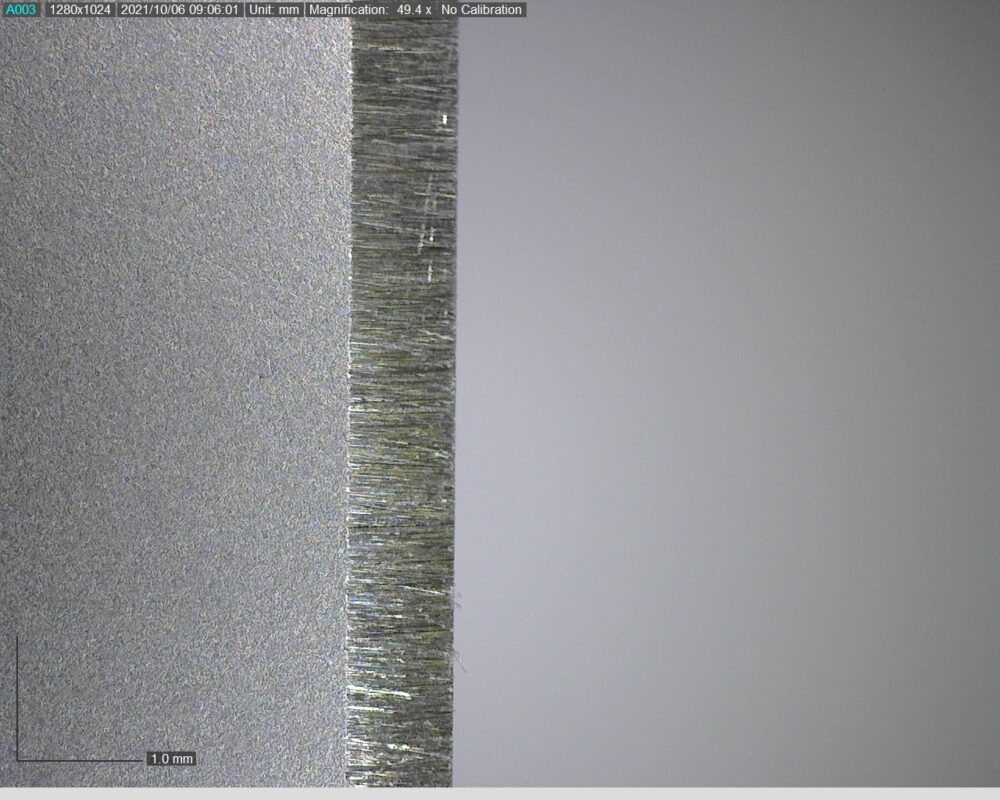
Before we get to sharpening, here is the factory edge on each Kershaw Leek. The edge looks consistent and if you look very closely you can see small burrs still remaining. Unless you are stropping a knife you will likely always see a small burr left after sharpening if you look using magnification. This typically falls off quickly after light use.
Let’s look at the knife sharpened with the original Precision Adjust First.
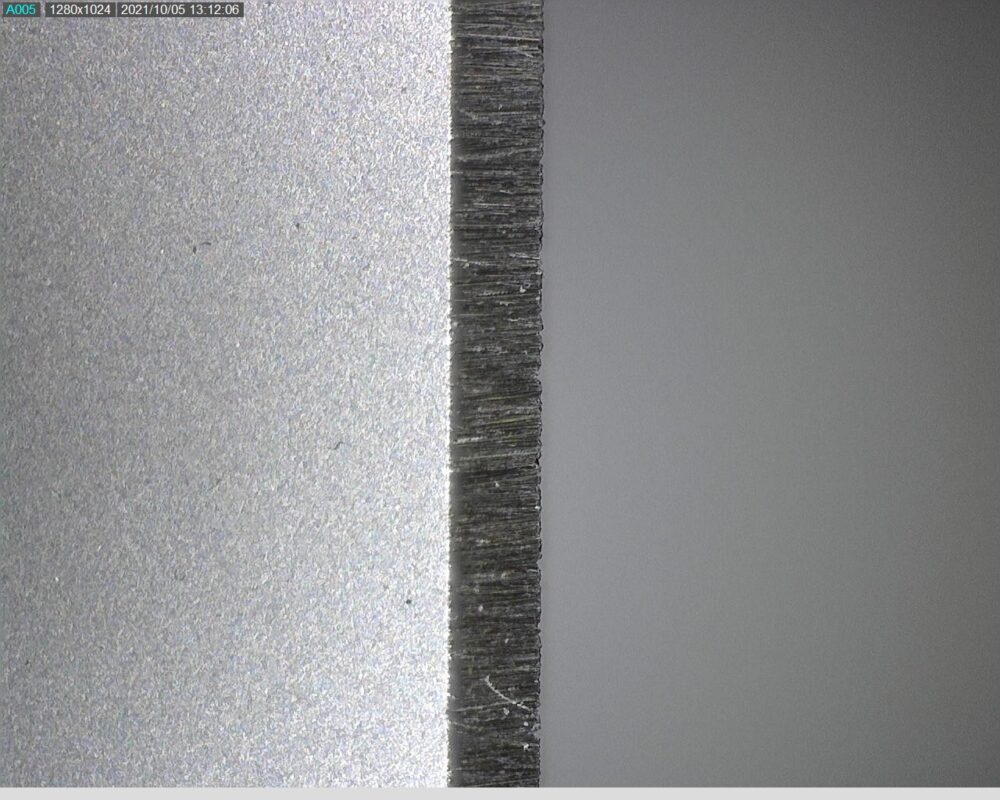
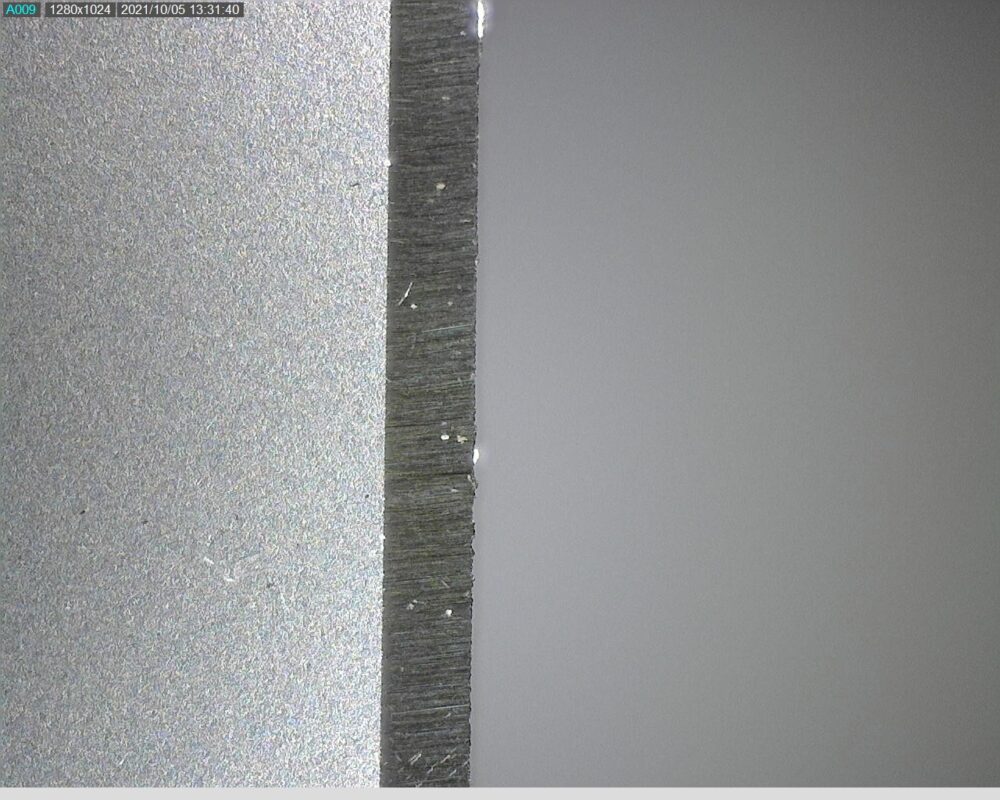
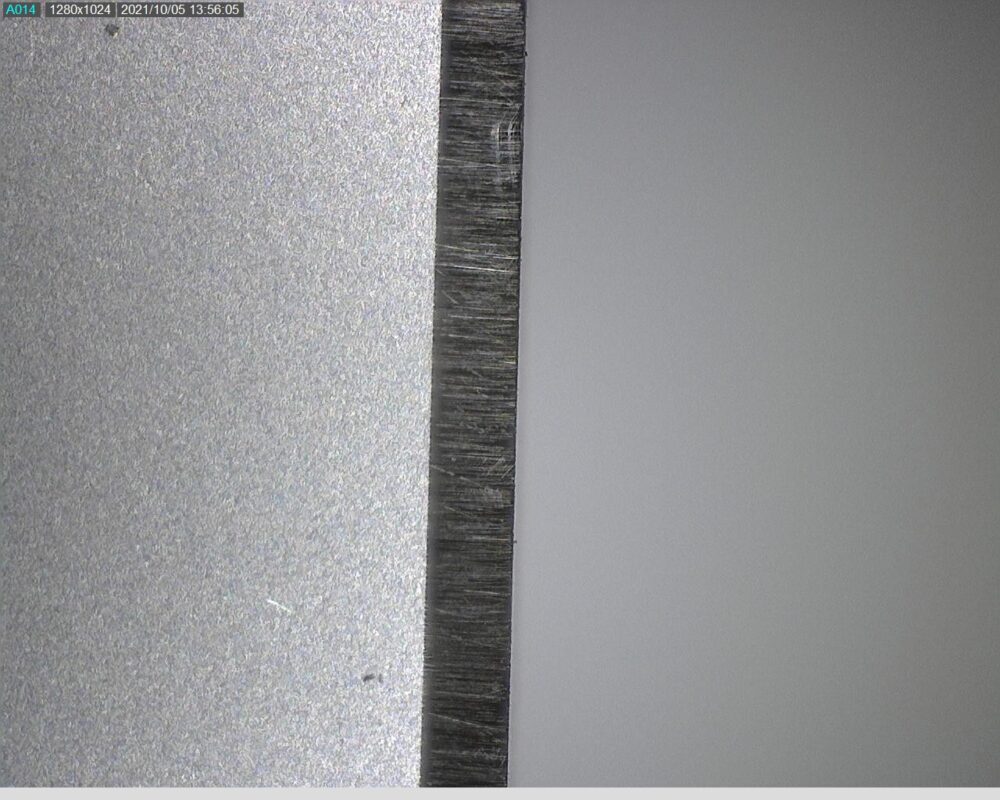
320
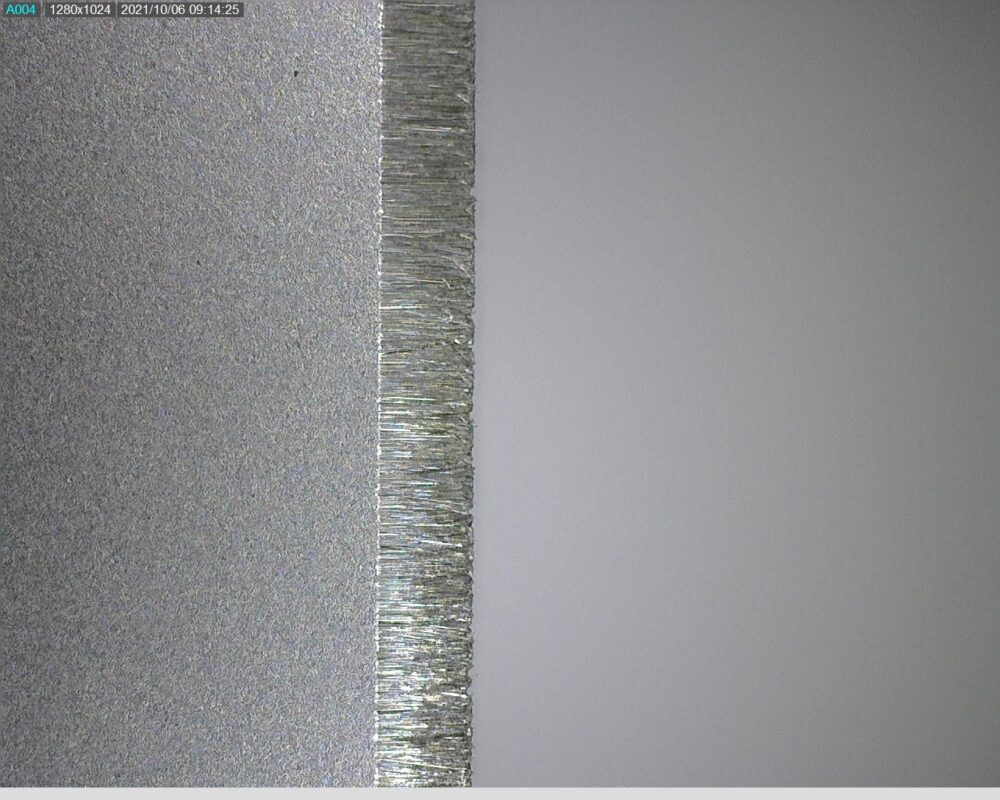
As you can see there is some deep striations and a rough overall finish but consistent reveal along the bevel. The burr is easily identifiable on the back side of the blade – you can see the image on the left shows a much smoother blade edge than the image on the right.
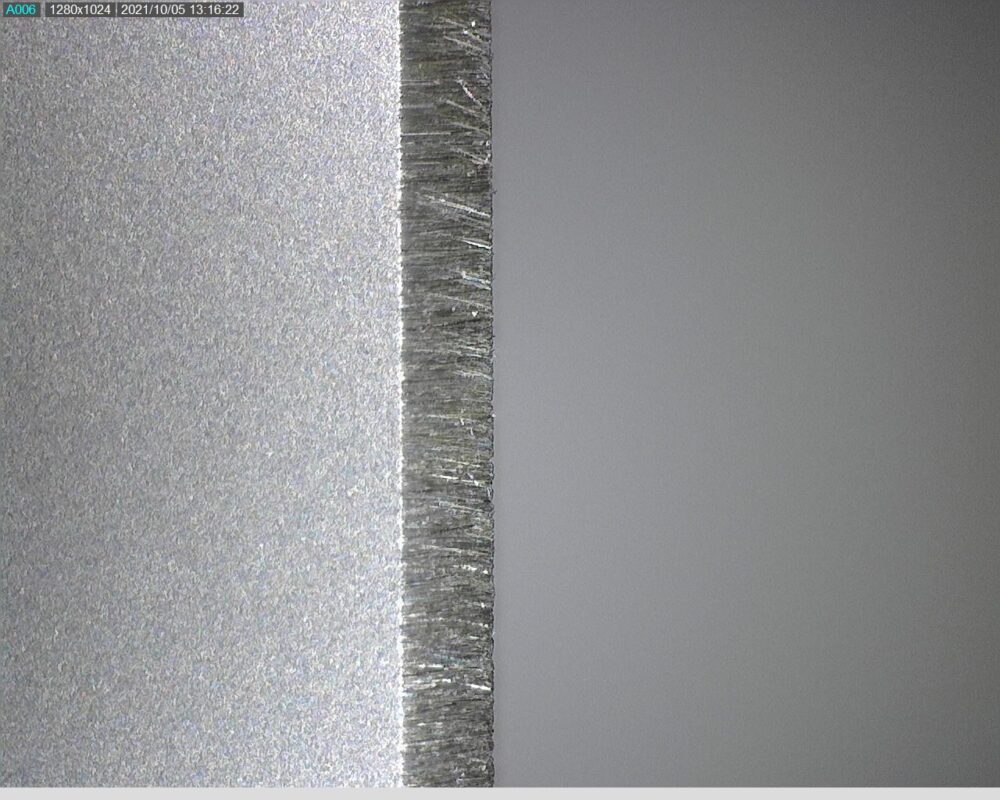
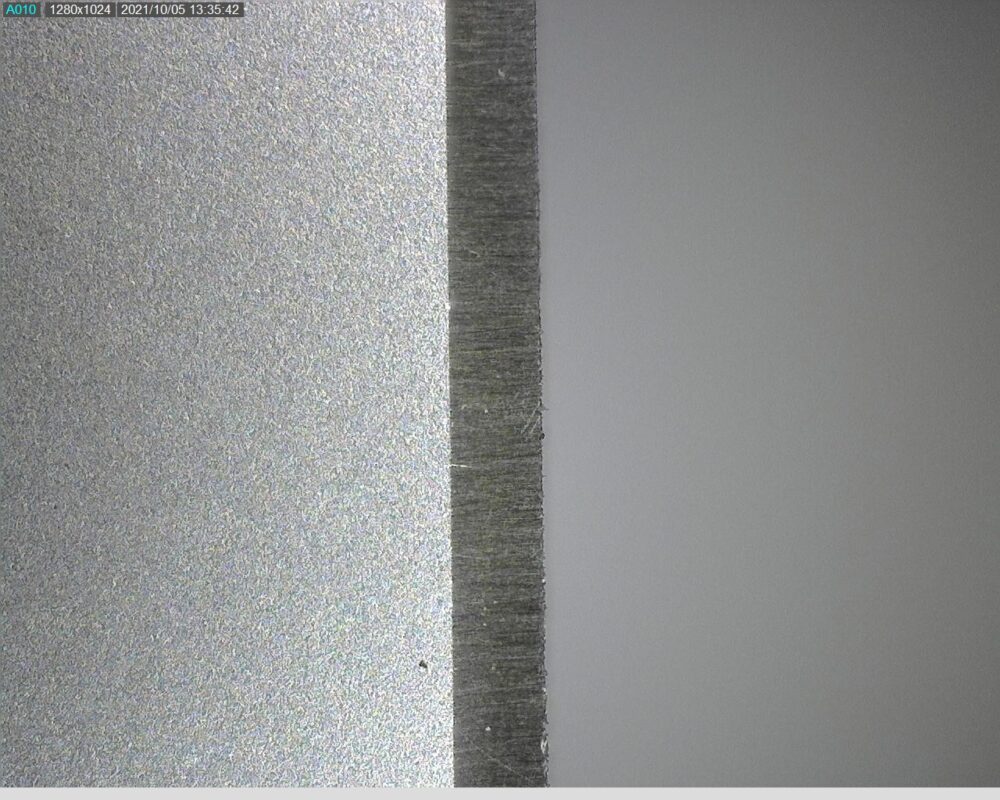
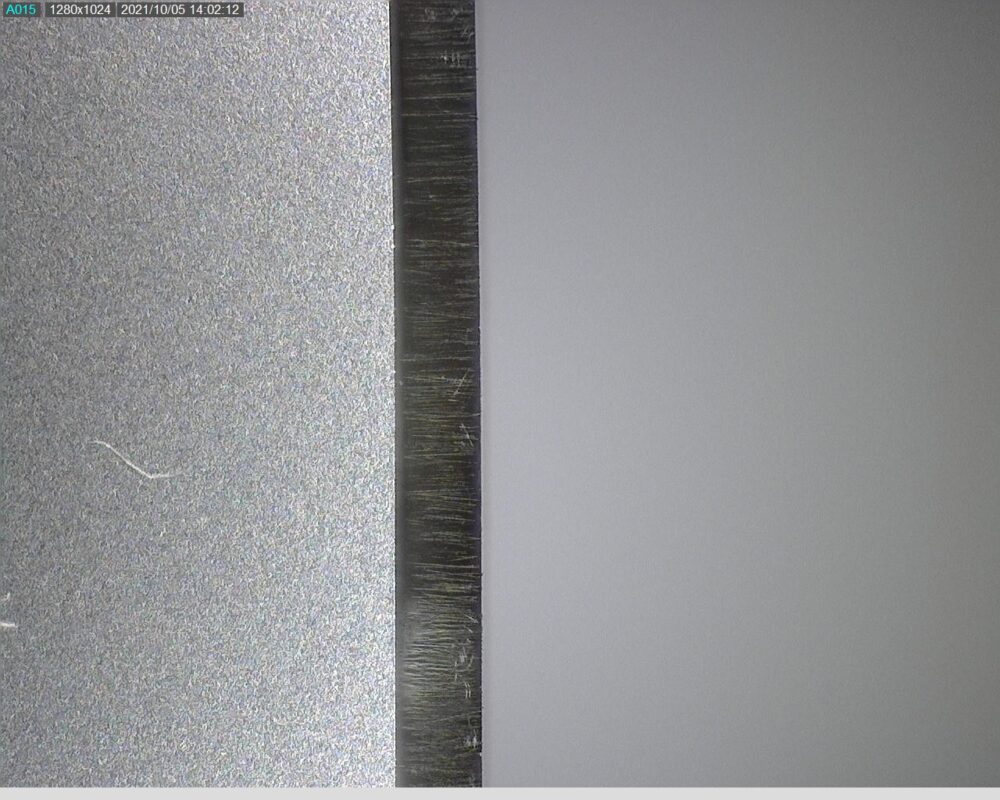
600
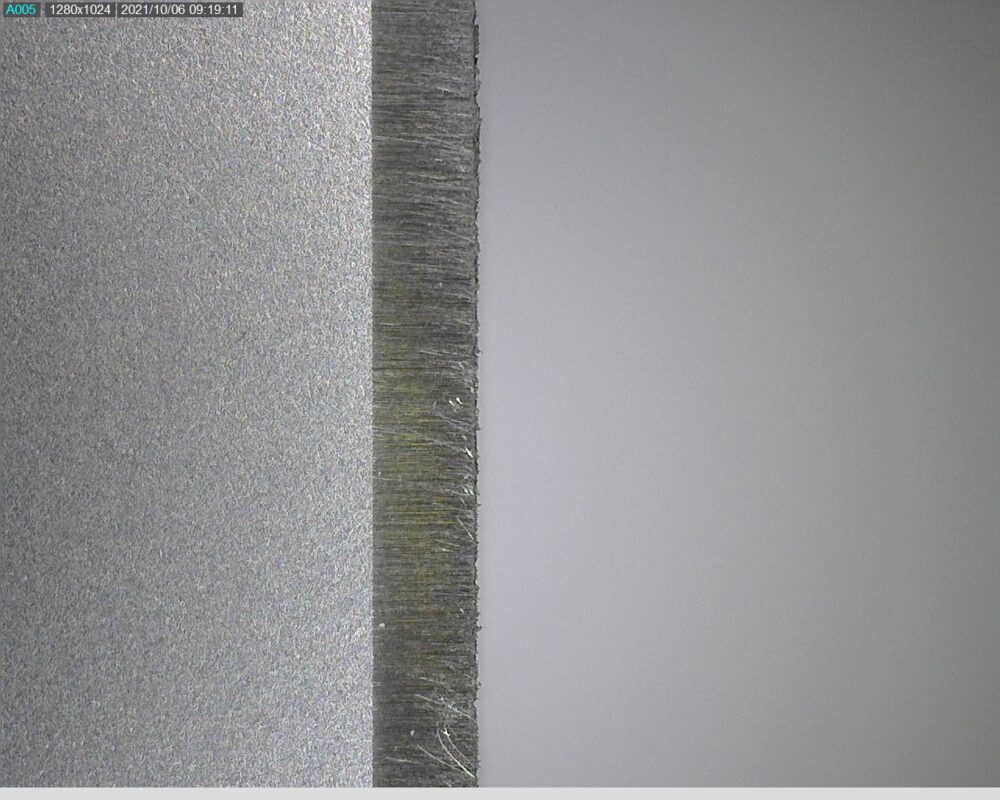
Using 600-grit we see some of the deep striations from the 320 stone were not totally removed. If more time was spent sharpening at this stage it would have likely removed those striations but as stated before we tried to be consistent with time spent at each stage. Overall, this already looks as good, or better than the factory edge except for the large burr still visible on the back of the blade (again, the image on the right)
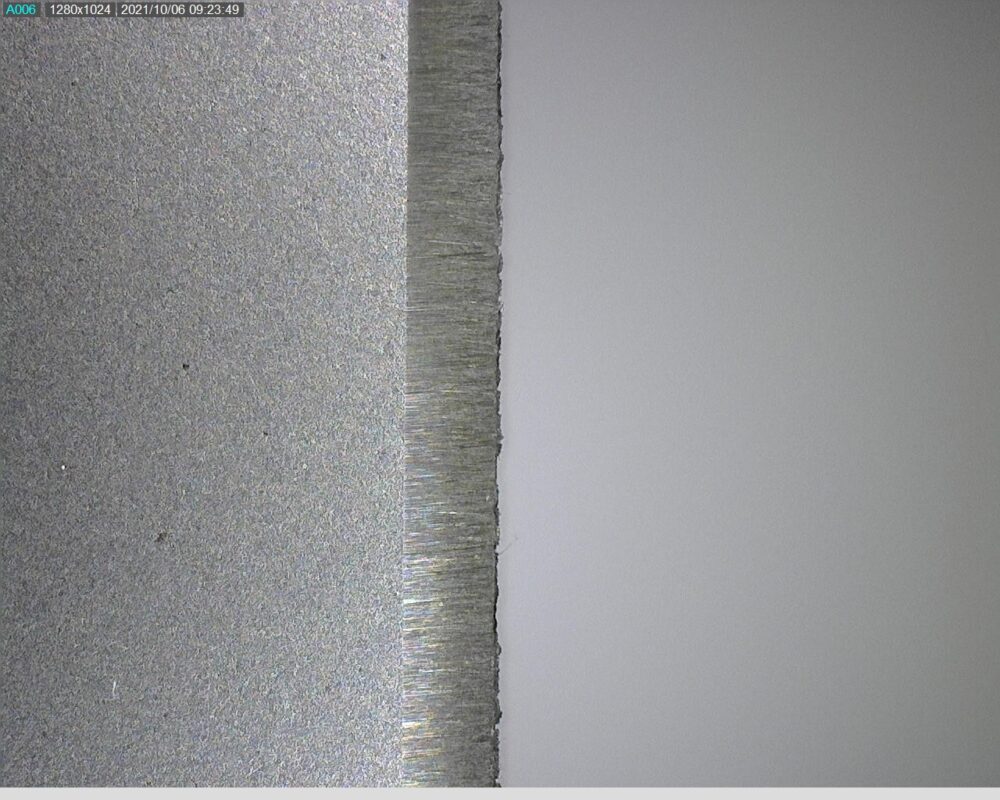
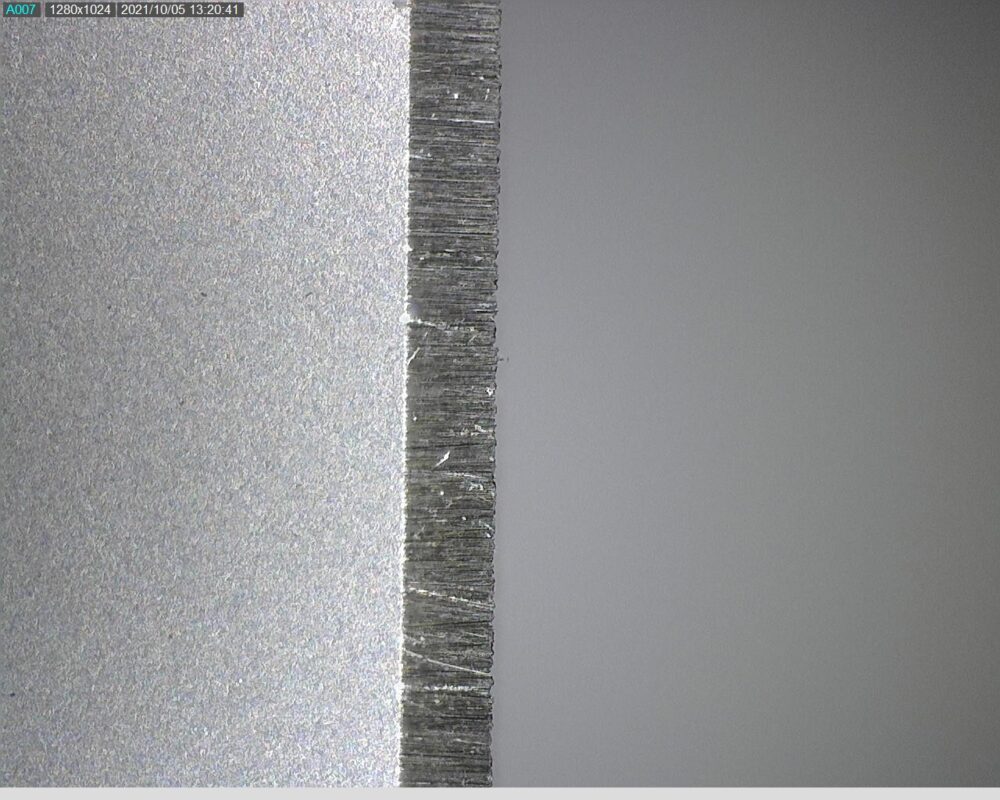
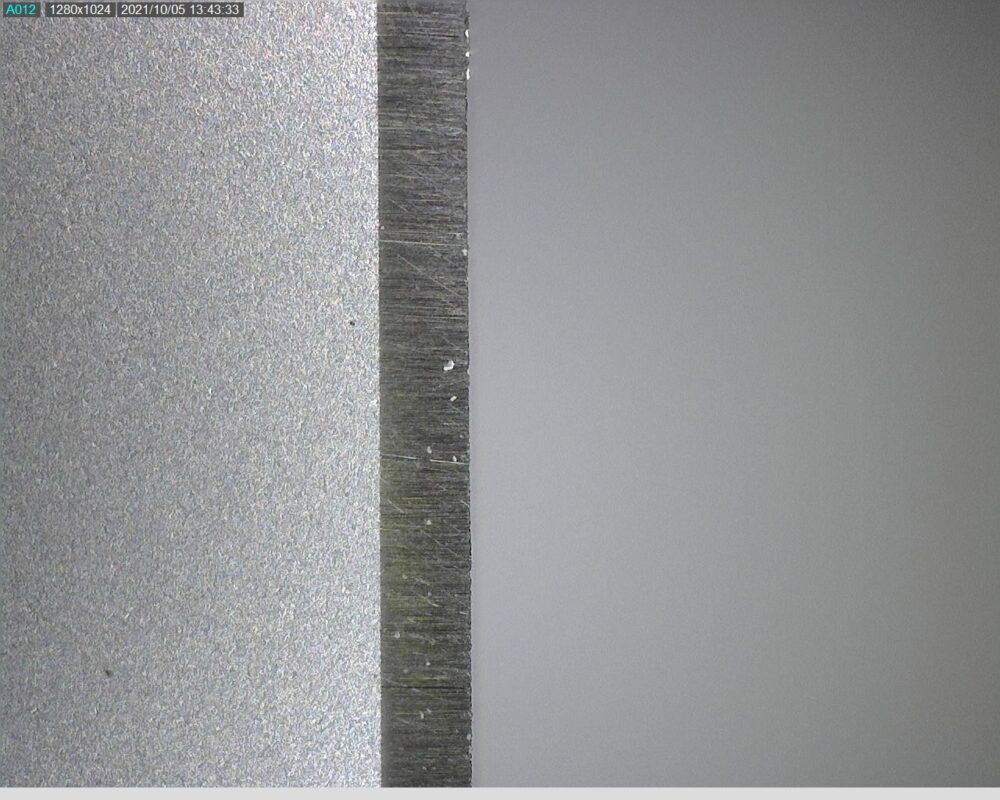
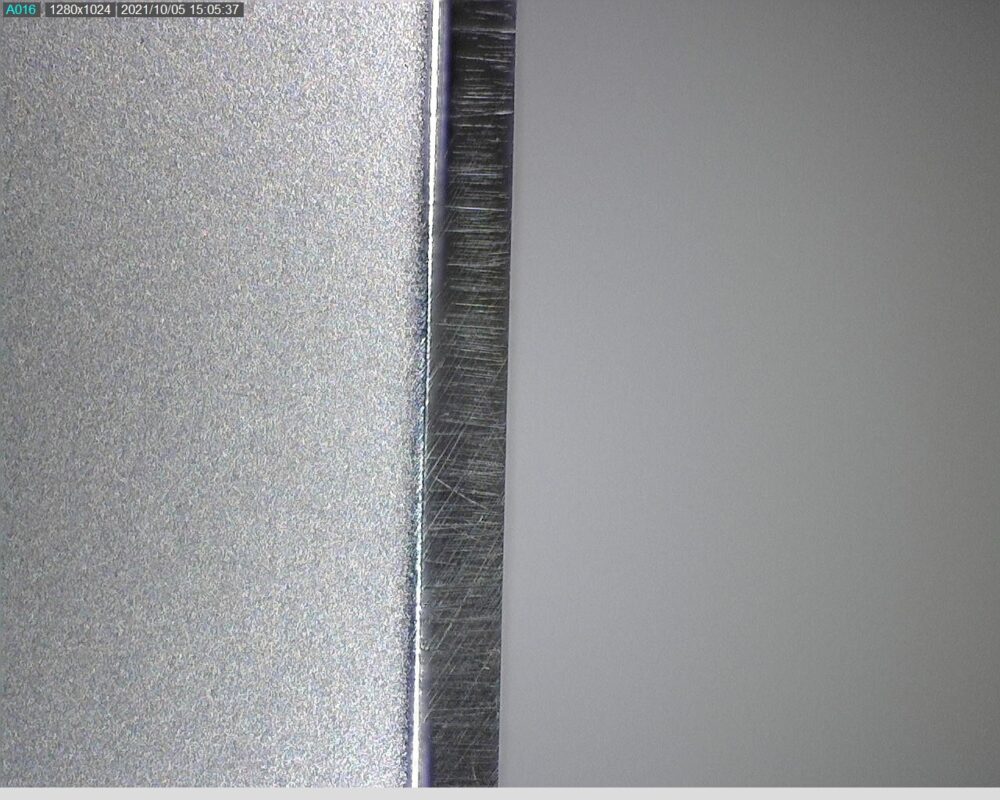
Ceramic
When sharpening a knife with a ceramic stone expect consistent and beautiful results at least to the naked eye. Under magnification, however, you can see that the ceramic smooths out high spots but does not polish the deep cuts left by previous diamond abrasives. You can see a small wavy burr left over in these images, but this edge is sharp!
When tested this knife produces a BESS Tester score of 207 – This is almost as sharp as a utility razor blade.
Now for Kershaw Leek No. 2 which was sharpened with every grit from the Precision Adjust Elite.
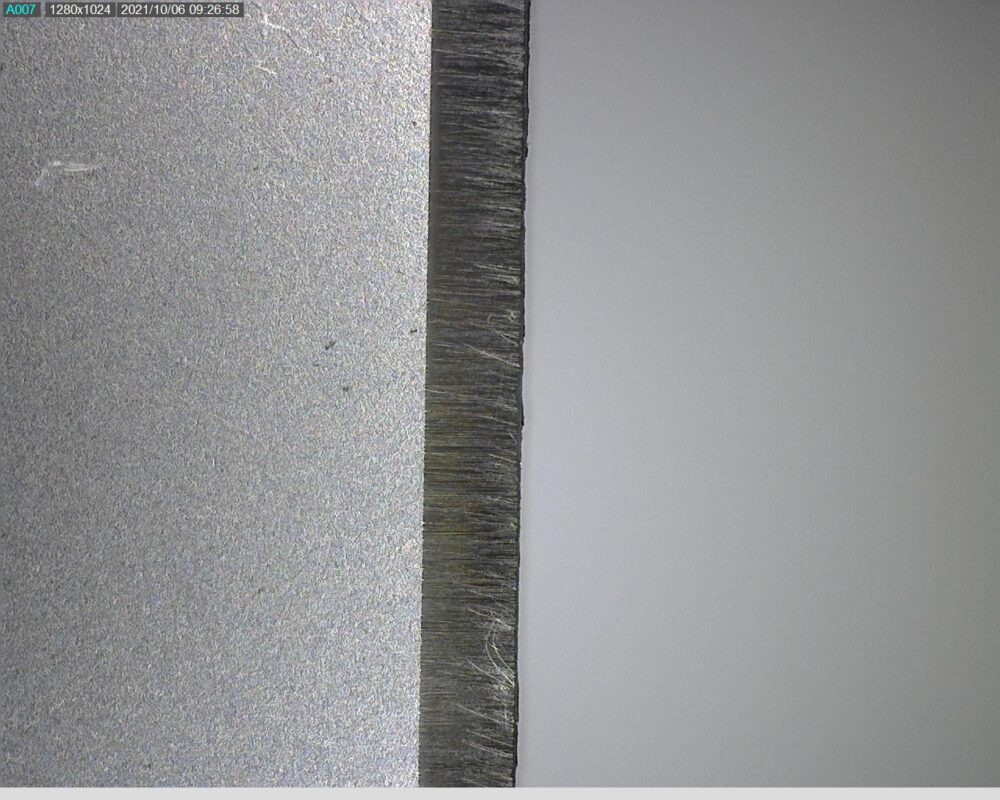
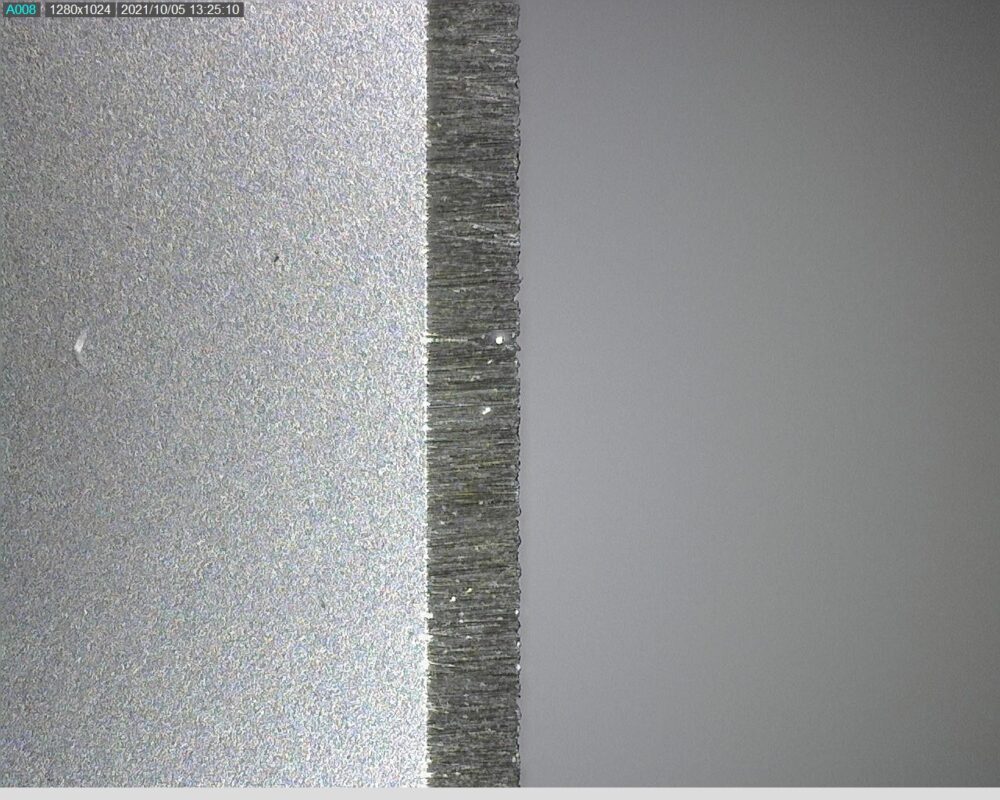
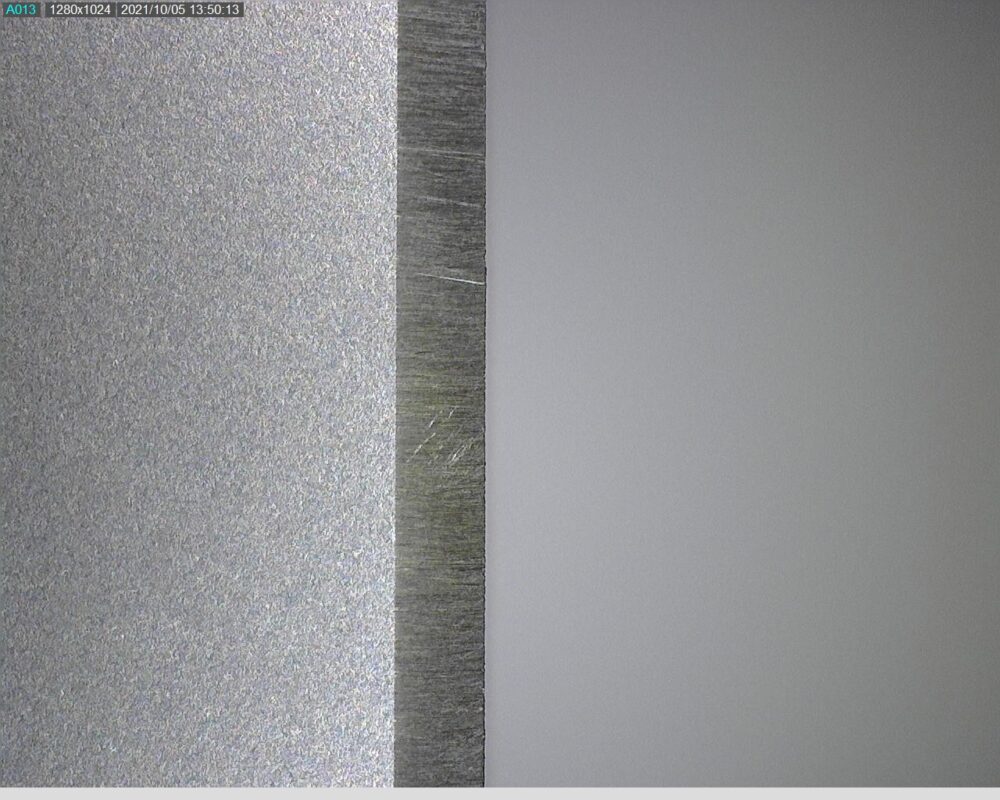
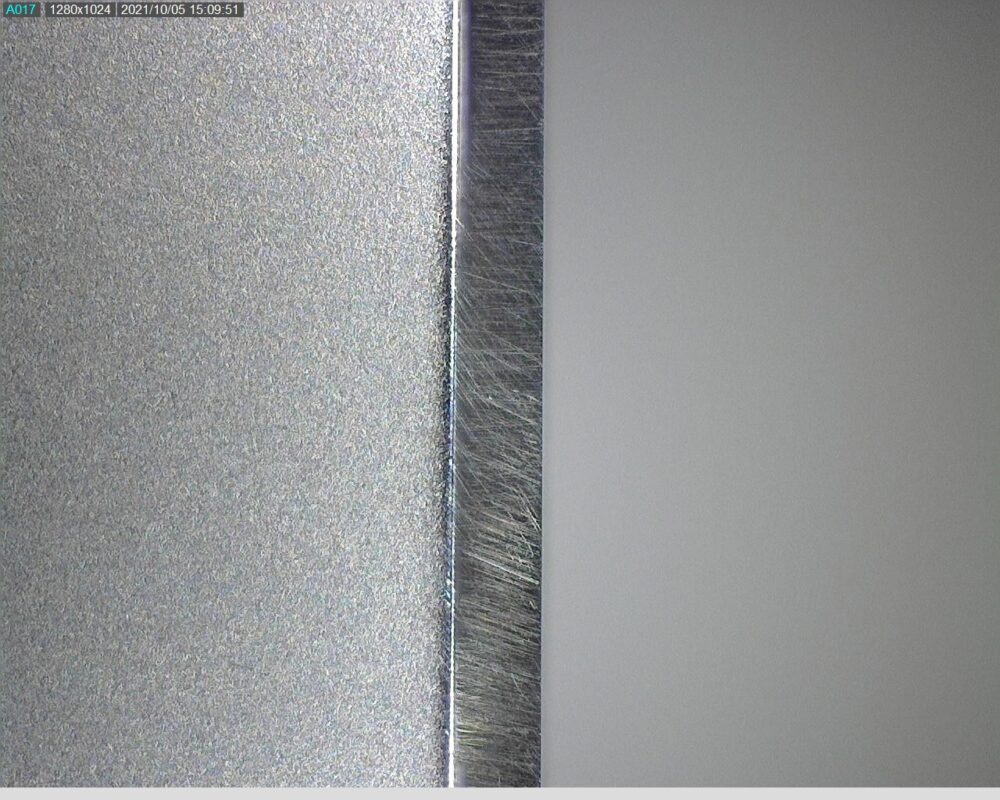
220
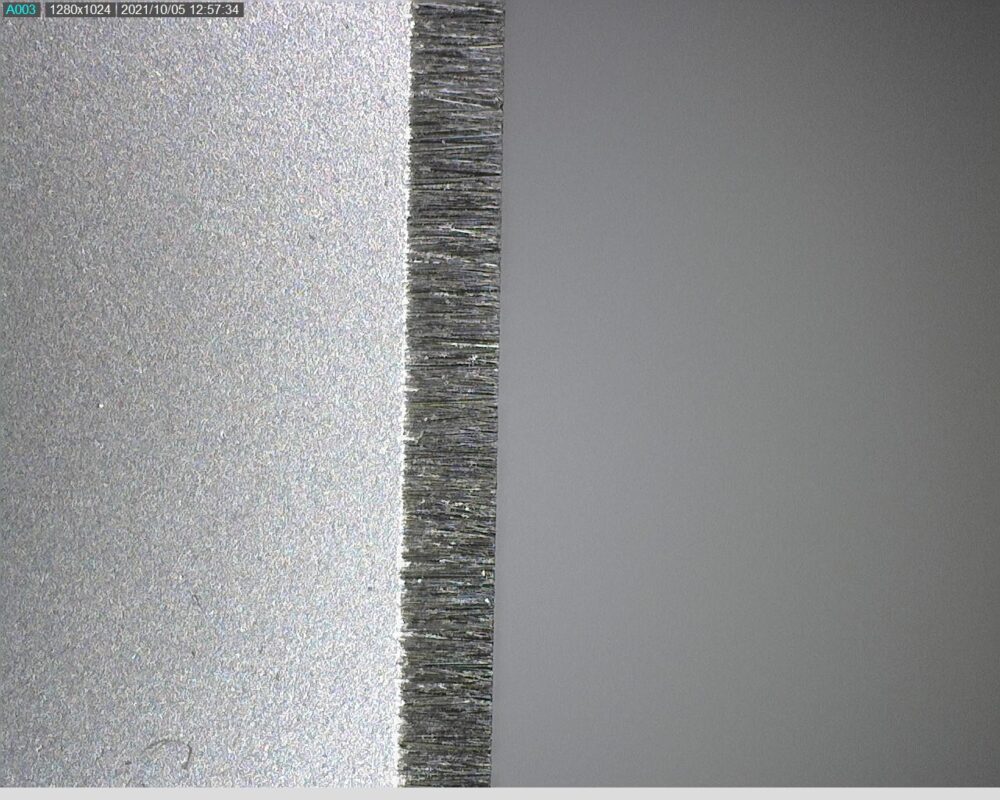
The 220-grit produced a rougher edge than the 320, as would be expected. The amount of time spent to achieve a burr with the 220-grit was significantly less and we probably did not need to spend as much time on this step but again we tried to be consistent in time spent on each stage and it may have resulted in some deeper pitting than necessary.
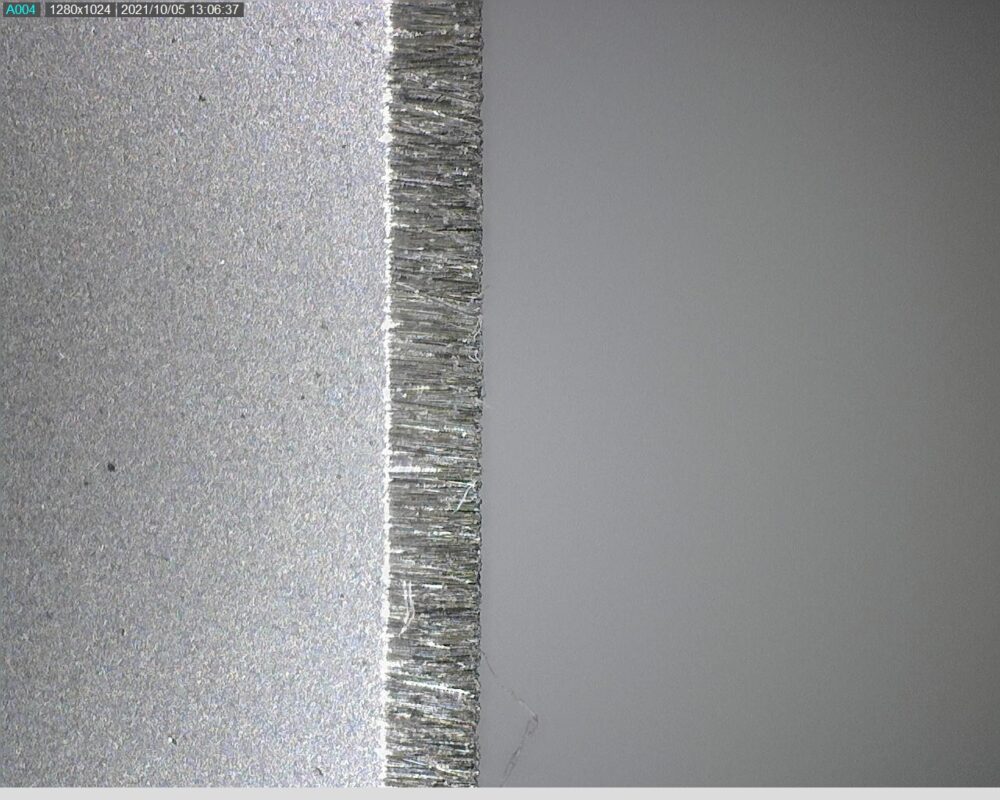
320
The 320-grit does a great job removing the scratch pattern or striations from 220 stone. The edge is a bit jagged but that is to be expected at this stage and that difference becomes less significant as we progress through the finer grits.
400
In our testing we found 400 was a critical step between 320 and 600 for removing many of the scratches from 320 that the 600 had a hard time removing. There are a few deep marks but overall greater consistency.
600
The 600-grit diamond produces a consistent and well-refined edge. Like what we saw from the factory. There are almost no deep scratch marks left over from the previous grits which is what makes the edge look so consistent.
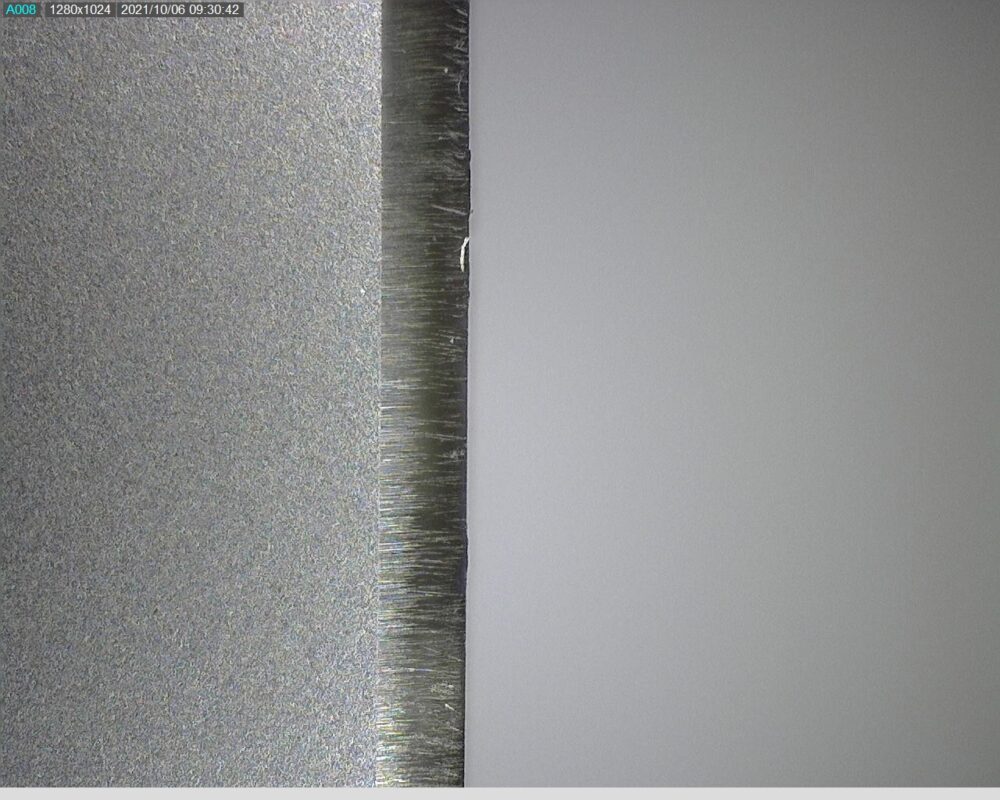
800
The edge created with 800-grit results in a uniform satin finish. Not totally refined but very workable. The burr is much smaller, barely noticeable. With any use the burr here would fall off and you would be left with a sharp and slightly toothy edge. In our personal use we have sharpened to 800-grit then quickly stropped on leather for a razor sharp and toothy result.
Ceramic
Again, you can see the glassy finish the ceramic puts on the edge – after the extra grit progression it’s significantly more apparent now. To the naked eye this looks like a near mirror finish and it was a bit surprising to see so many striations left behind under magnification. As for the burr, it is all but completely removed. The only reason we imply that there is still some burr is that the picture gets even clearer and the edge even more stark when we look at what happens next with the leather.
Leather
The big take away for leather is that it removes the burr 100%. We can look at both sides and see that they both look clean and sharp, and when we test this on the BESS tester it should show.
BESS Tester score: 109
Key takeaway: Regardless of which system you use, you will get an incredibly sharp knife. And it’s no question that using more grits in the process creates a higher level of refinement and thus even sharper results.
The Elite System is less about getting sharper knives and more about creating exactly the edge YOU want to create. You can choose exactly where to begin sharpening, and how far you want to take the edge. You can also just come back and touch up with leather or get into some light repair with the fine diamonds.
Stay Sharp and let us know what your thoughts are below, or check out our YouTube Series where we turn content like this into videos.
4 responses to “Precision Adjust Elite – A Closer look at Edge Results”
I purchased a Professional Precision Adjust. It works great! I’m looking for advise on how to sharpen Fillet Knives. 6″ & 8″. With the Knife being thin and the angle needed to match the factory edge is challenging. The Abrasive Plate It wants to hit the V-Block Clamp due to the knife being thin and long. I tried the small Knife Table but it is challenging to get a perfect edge and requires a lot of working time on it.
I’m thinking I need to purchase a different Work Sharp product for these individual knives.
Any help would be greatly appreciated.
The pics were absolutely useless as you never stated the view angle. looks like a big flat edge to me with horizontal groves on it
Interesting but as a 87 yr woman, using the sharpener is. Good enough for me,and it works great