Your cart is currently empty!
Knife Sharpening Options – A Quick Overview
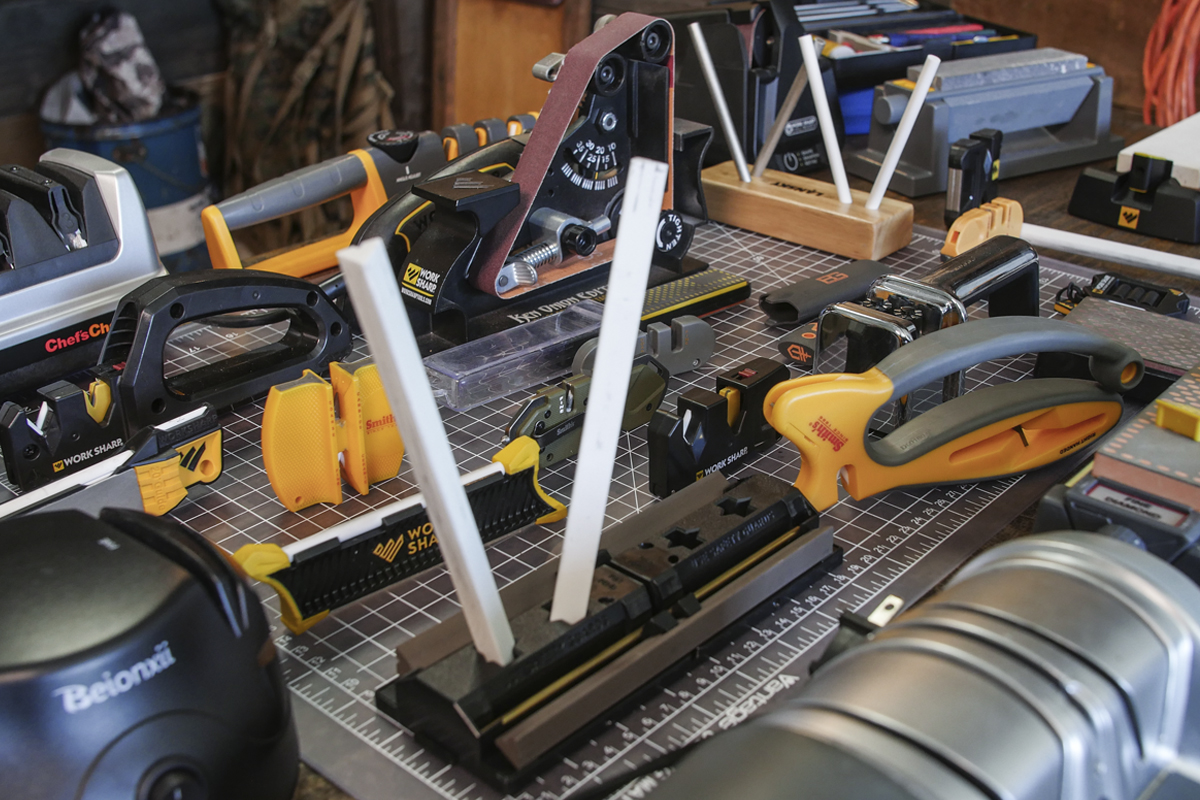
Have you ever found yourself online or in the store aisle looking at all the options of knife sharpeners? There are manual solutions and powered units, all with a variety of feature sets. Knowing which option is right for you can become quite a task when it comes to comparing and evaluating.
Today in the Workshop, Josh and Kyle from Work Sharp give a quick overview on the different type of sharpeners on the market and provide some insight into the manual and powered sharpening categories.
Manual Sharpening Solutions
There are four main categories when looking at manual sharpeners.
- Pull-Through: A modestly priced solution that is great for hand-held countertop sharpening, or to take on-the-go in your pack or tool kit. Carbide and ceramic slots make this functional sharpening process a great entry point to knife sharpening. These sharpeners are an effective on-the-go solution, and great for maintaining other tools like your garden shears or axes.
- Benchstone: Designed around stone abrasives to sharpen both knives and tools, this method of sharpening creates a flat grind and requires more hand work. Users will find there are many options available in this category varying on price, skillset, and performance – from basic sharp to a precise keen edge. Work Sharp offers benchstone sharpeners with built-in angles to eliminate guesswork and they come with a progression of grits to provide all the steps – shape, sharpen, and hone.
- Angle Control: While requiring a little more set-up and commitment, these sharpening solutions provide more angle control vs the benchstone. At a medium price point, bench-top angle control systems typically use finer grit abrasives and require regular upkeep to maintain your keen edge performance. This solution works well for developing and mastering angle control and are not designed for repairing damaged blades or re-establishing your edge.
- Jig & Clamp: The best manual system for precision and repeatability. These sharpening systems clamp your knife and, at a set angle, traverse abrasives along the edge of your blade. Set at a higher price point, the jig & clamp method requires more set-up and time spent sharpening. While easier to establish your skillset, these sharpening systems do require more commitment to learning the mechanisms of the tool and proper grit progression. With time and dedication to the craft, these systems are an excellent solution for shaping, sharpening, and honing.
Powered Sharpeners
For powered sharpening systems, there are two main categories: Shop vs Home. Both systems are designed so that the user is pulling the length of blade along a moving abrasive. The abrasive is doing the bulk of the work in this process and typically most powered sharpeners have set angles to maintain the knife edge.

HOME:
Typically found in the kitchen, these sharpeners are enclosed with slots that act as the guide for your knife – maintaining the proper angle and leading your blade along the abrasive. The abrasives used in an electric sharpener are a diamond wheel, abrasive disc, or abrasive belt.
Varying features of home kitchen sharpeners are set angle guides, type of abrasive, how/if the abrasive can be replaced, and some have options for a progression of grits. The quality of these feature sets and type of abrasive differ by home sharpening systems, along with price point.
While the mechanical instruction and layout for each sharpener will vary, the basics are the same: Establish the profile of the blade, sharpen, then refine (remove the burr).
Home sharpening systems are functional and easy to use. They help maintain your kitchen cutlery while being cleaner and more practical for in-the-home use.
SHOP:
While some powered systems can be high in price and lean more toward advanced industrial design, most home-shop sharpeners are priced for their value, quality, and ease of use.
Work Sharp has a variety of powered options to choose from that meet diverse skillsets while offering top of the line performance. The skillset is built into the tool, and yet these sharpeners also have the capability to expand into more customizable sharpening systems for those seeking more options.
Additionally, Work Sharp powered sharpeners for the shop can sharpen axes, hatchets, gardening tools, lawn mower blades, and more.
Check out the full video below for the entire review of these sharpening systems with Kyle and Josh from Work Sharp – and share with us what systems you are interested in using or what sharpening solutions you currently using to maintain all your knives. Tell us about your experience in the comments below.
3 responses to “Knife Sharpening Options – A Quick Overview”
Getting my Ken O sharpener this week will let you know how I do
I have always been frustrated trying to sharpen anything other than a butter knife. I would say I would like to know how to sharpen a pocket knife and garden tools.
I’ll let you decide what I really need. And I’m not planning on shaving with them so….
Thanks for your help!
First, thanks for the videos, I am not one that would probably use the field sharpeners as I have always had bad luck with those, (I’m sure that I’m the cause of that). I have the Ken Onion Knife Sharpener and before that, I had the WSKTS basic Sharpener until I used a cleaner that melted the plastic and broke the belt drive, that I’m not sure if a person can buy, but did buy both from Work Sharp, not Amazon or other sources. I have just started to use my Ken Onion Edition after my cleaning venture with my 5-year-old WSKTS. I still wish I could either replace it but I kinda believe that the Ken Onion is somewhat a better device, you tell me if I am wrong. I use the included guide instructions that tell what and how many steps a person goes through using the different belts included, I have only used it twice and am having a bit of concern as what speed is the best, and one thing that I have a problem with is how to properly hold the knife as I notice that if you try and push on the guide as the knife goes through if you use too much pressure the back guide or the other guide are both spring-loaded, thus telling me that I am using too much pressure and try and not do that as I’m sure that the angle will be thrown off. It’s like anything, practice makes perfect, but I hear to tell you that it seems to take some time. With the WSKTS, the only thing I seemed to have run into was the guide seemed to be just a tad small allowing me to run out of the guide before I was at the end of the knife, I know it’s hard to know just want I’m doing wrong or not through an email. All I know to do it try and read the directions and hope that I finally get it down to an art. Any advice, I would greatly appreciate. It does seem tho that if I follow them to a tee, sometimes I end up with a duller knife that when I first start using the first 2 belts and the times it says to use certain grits.
Take Care, and Stay Safe out there. It’s a good thing I did purchase my Ken Onion before the Covid19 era started, I am 68 and retired so I have plenty of time. lol.