Rack of Lamb
A step-by-step guide highlighting knife technique by Serious Eats
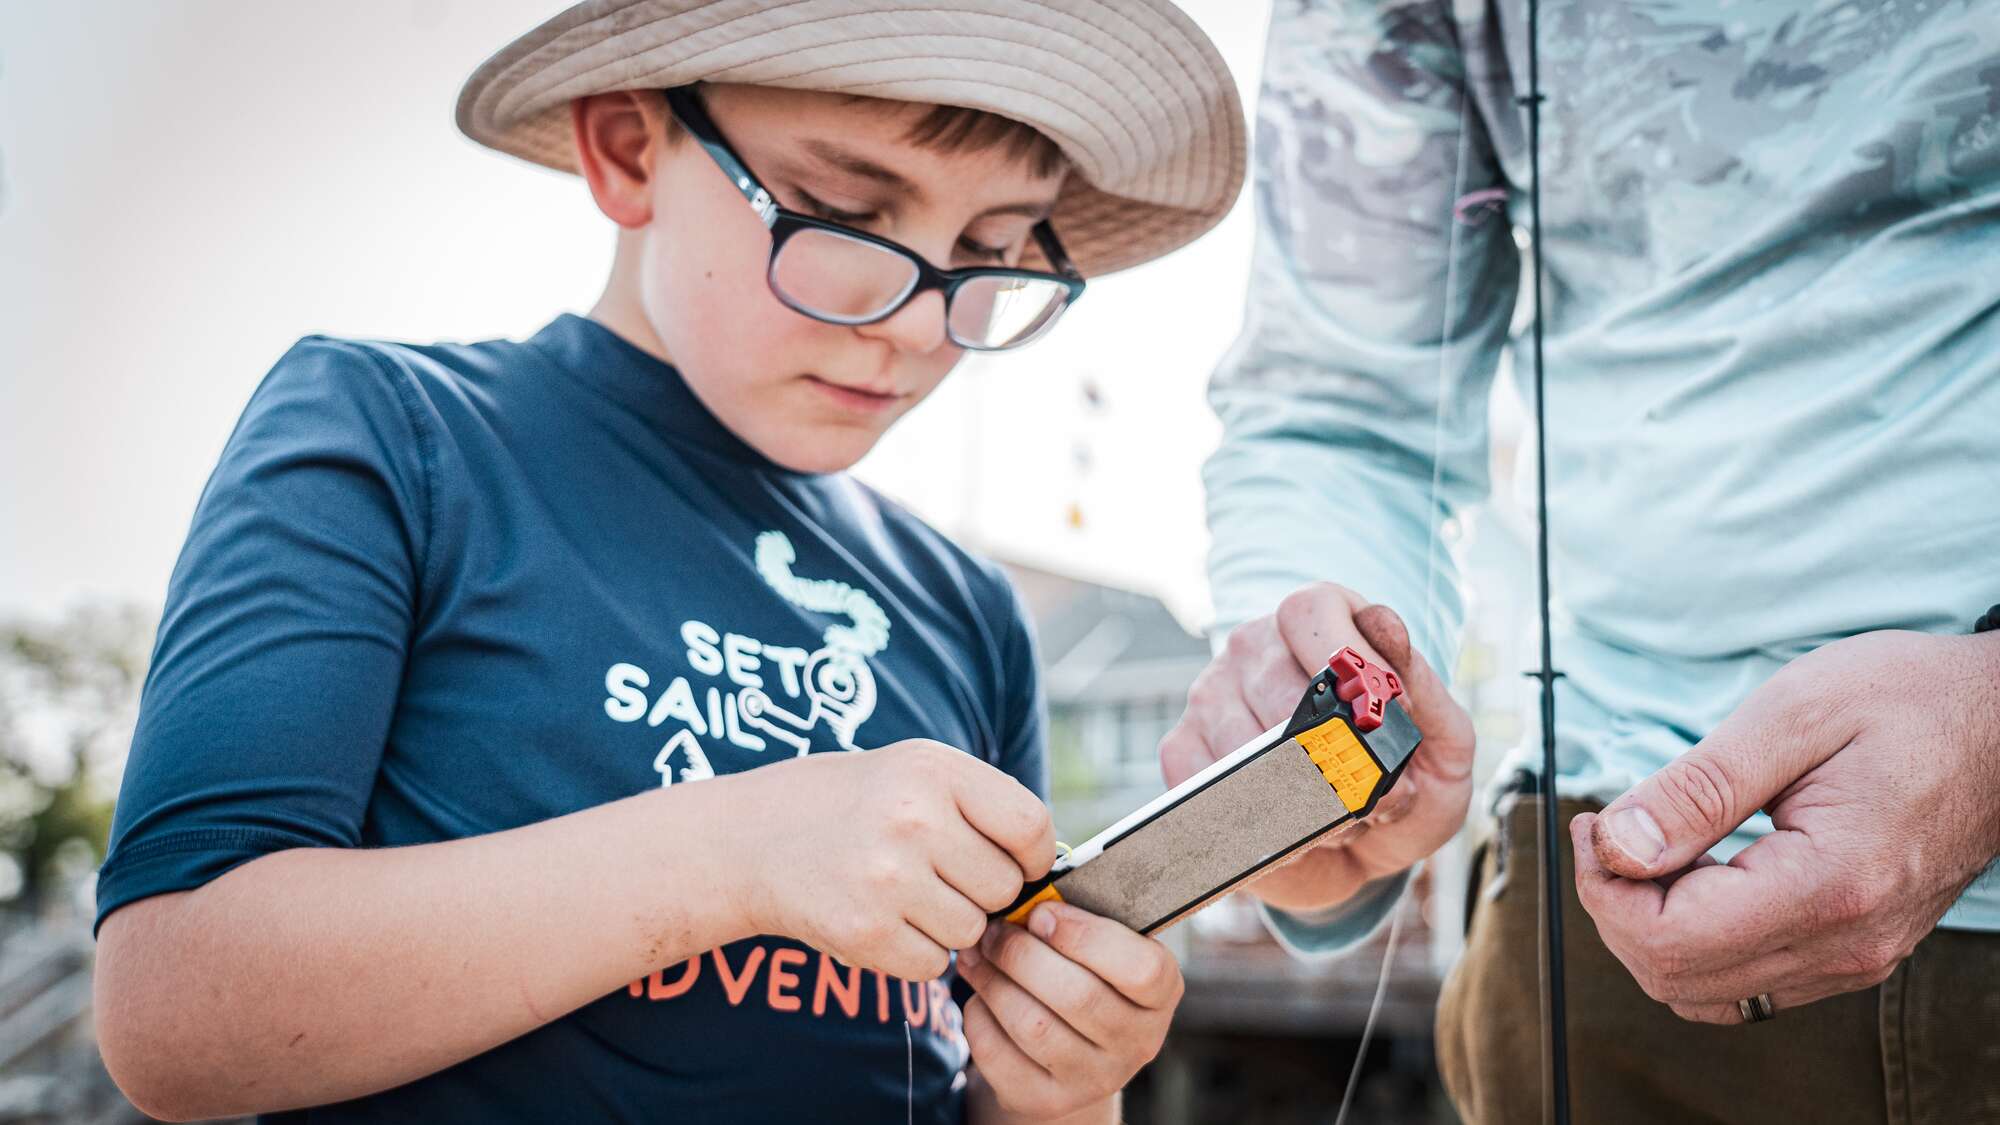
What exactly is frenching? Well, when applied to meat, it's all about appearances. Stripping meat away from bones in order to give roasts and chops a more attractive presentation doesn't really do much for its texture or flavor, but it sure makes it look pretty on the plate. Think of it as a necktie for your roast. Once you know a few of the tricks, the process itself is really quite simple, and can just as easily be applied to pork, venison, or beef. For precision and presentation, starting with a sharp knife is essential to being successful. Short on time? Click on the photo below to explore ways to maintaining sharp knives.
Step 1: Removing the Shoulder Blade

Sometimes, on large racks, the shoulder blade will be left intact. Remove this bone with by lifting with your non-knife hand and cutting underneath it using a butcher's knife or a paring knife. Save bone for stock or pets if desired.
Step 2: Removing Fat and Connective Tissue

Trim away the thick layer of fat covering the ribs by making a small incision where the shoulder rib was removed at the rib-tip end, and slowly peel away the layer with your non-knife hand. The action is more pulling and separating than slicing.
Step 3: Removing Fat and Connective Tissue

Continue peeling away the fat layer, using a series of small, short strokes to separate the fat, which should come of in a large swath, allowing your non-knife hand to do most of the work. The fat should separate along natural fault lines, leaving a thin 1/8th-inch to 1/4th-inch layer next to the meat. This will help flavor the meat and prevent its surface from drying out as it cooks. Discard excess fat (or save for rendering or sausage-making, if you are so inclined).
Step 4: Fine-Trimming of Fat

If the fat remains too thick in some areas, hold your knife parallel to the meat and carefully shave off excess until an even layer remains.
Step 5: Trimming Tendon

There is often a large tendon running right underneath the loin. Trim this tendon off, along with some additional fat. At this stage, your lamb rack is ready to cook. However, if you'd like to go the extra step for presentation and French the bones (strip the ends of excess meat), start by flipping the rack over so that the ribs are exposed.
Step 6: Scoring Membrane

Using the tip of your knife, score the membrane along the center of each bone by placing the tip of your knife against he bone starting about an inch and a half away from the cut end of the bones, and pulling your knife slowly and firmly down the bone to its end. Your bone should trace a path right down the center of each bone, not in between the bones.
Step 7: Peeling Membrane

Using a dish towel to grip the slippery fat, pull fat and membrane away from between each rib slowly and firmly. It should pull cleanly away from the bones. Continue working away from the bones until about two inches are exposed (more or less, depending on the size of the lamb and personal preference).
Step 8: Trimming Fat and Membrane

Flip the rack over and use your knife to cut away the flap of fat and membrane. Discard excess fat, or render if desired (rendered lamb fat is great for roasting potatoes or playing practical jokes on your wife).
Step 9: Cleaning Bones

If you're really lucky, the fat and membrane will have come cleanly off the bones, leaving them bare and pearly white. Most of the time, little bits of meat and fat will remain stuck to the bone, which all but the most OCD will not mind. I consider myself amongst the most OCD, so I use the butt-end of my boning knife, next to the tang, to scrape every last scrap of connective tissue off the bones.
Step 10: Cutting Chops

To divide rack into smaller racks or individual chops, stand it on end, and starting from the exposed rib end, cut between ribs with smooth, single strokes. If you don't get through in one stroke, pick up your knife, place it back in the seam, and pull it again—do not saw back and forth. You'll end up with jagged edges.
Step 11: Finished

A Frenched lamb rack and four double-cut chops, ready for roasting or grilling. Now wasn't that much easier than you thought it'd be? Want to make it even easier? Next time, ask your butcher to do it for you. About the Author: Kenji López-Alt is the Chief Culinary Advisor of Serious Eats, and author of the James Beard Award-nominated column The Food Lab, where he unravels the science of home cooking. A restaurant-trained chef and former Editor at Cook's Illustrated magazine, his first book, The Food Lab: Better Home Cooking Through Science is a New York Times Best-Seller, the recipient of a James Beard Award, and was named Cookbook of the Year in 2015 by the International Association of Culinary Professionals.
Affordable Sharpeners starting at $49.99. Find which sharpener is best for you by clicking on the photo below!


